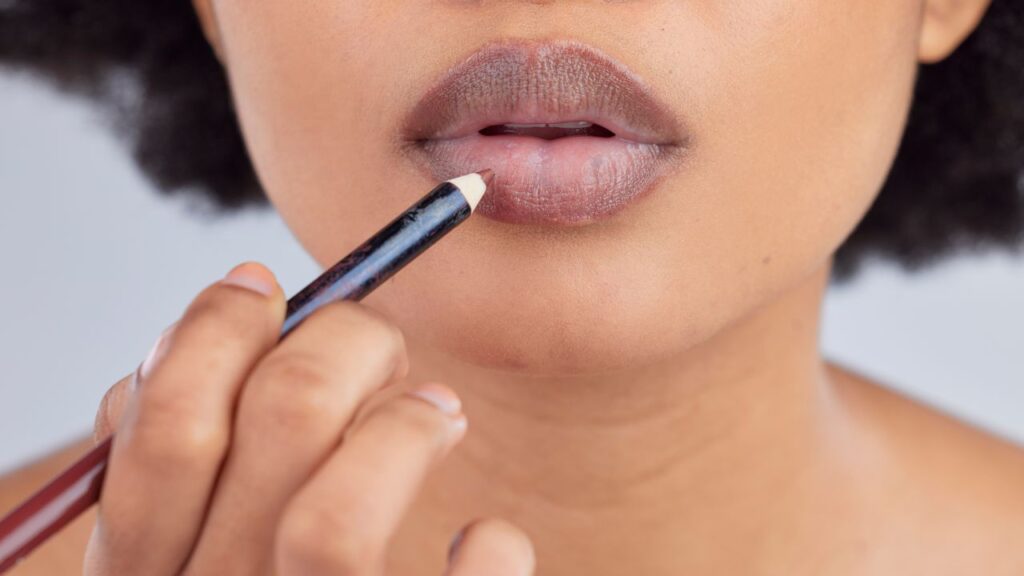
Lip liner—a bonafide ‘90s beauty hero—has had a major comeback in recent years. But before jumping on the bandwagon, it’s worth learning how to apply lip liner correctly. With the proper prep and technique, you can easily create a long-lasting look that takes your lip combo to the next level.
Like any makeup product that requires precision, practice makes perfect with lip liner. Once you’ve mastered the basics, there are so many ways to experiment and play. “Think of lip liner as both the blueprint and the barrier for your lip color,” Sara Kuhl, makeup artist and product education director at SeneGence tells Glamour. “It’s a small step that makes a big difference in your final look. That added definition instantly elevates your entire makeup look, giving it that refined, finished touch.”
Below, we asked professional makeup artists for a complete crash course in lip liner, from an easy step-by-step application guide to how to customize your look.
Skip ahead:
What are the benefits of wearing lip liner?
Whether you’re looking to draw more attention to your lips, or just polish up your go-to lipstick look, there are plenty of upsides to adding a liner to your routine. Even at its most basic application level, “Lip liner defines your shape, helps prevent feathering, and extends wear for long-lasting color confidence,” Kuhl says.
Once you’re comfortable with the product, your liner can act like a makeup magic wand—creating subtle illusions that bring major variety to your lip combos. “I like using a lip liner because it allows you to be super precise, and you can adjust the shape of your lips a little by making them appear fuller and more even,” Jake Warden, says Dolce & Gabbana beauty’s global makeup expert.
How to apply lip liner, step-by-step
“Healthy, hydrated lips make for a smooth canvas,” Kuhl says. She recommends starting with a lip exfoliant or conditioning polish to gently remove any dead skin. “Follow with an antioxidant-rich juicy lip mask or a shea butter infused moisturizing gloss to nourish and hydrate, then blot lightly to remove excess moisture before applying your liner.” Warden recommends letting your lip mask sit while doing the rest of your makeup to maximize hydration.
“Start by identifying your natural border and tracing using short, light strokes for precision,” Kuhl advises. If you’re new to using lip liner, try to follow the contours of your natural lips exactly. Once you’ve created your initial outline, “use your finger or a small blending brush to softly diffuse the liner. This makes the process very forgiving and should be simple to follow.”
Once you’ve created a subtle outline, you can decide if or where you want to build up definition. Depending on your look, you might want to retrace certain areas or your full lips for a darker, higher-contrast look.
Step 4 (optional): Exaggerate
“Once you’re comfortable and feeling confident with your true shape, you can gradually start experimenting with soft, subtle enhancements,” Kuhl says. To start, you might try rounding out the center of your bottom lip to add fullness, or carving out your cupid’s bow with more liner.
How to pick a shade of lip liner
While you’re learning the ropes, Warden says that it’s a good idea to pick a shade that’s close to your natural lip color—or a shade or two darker, to make sure it shows up. When picking a shade based on your skin tone, Warden recommends:
- Soft pinks, peaches, and nude beige liners for light skin tones
- Rosy, mauve, or caramel shades for medium and olive skin tones
- Rich browns, plums, or deep rose liners for deep skin tones.

